Achieving Crisp Prints on Dark Substrates
Achieving a bright, crisp white print on a dark or coloured surface presents a unique challenge for printers. Unlike printing on white substrates where ink colours appear vibrant, dark materials absorb light, causing standard inks to look dull or translucent. High-opacity white ink is essential to counteract this effect. It acts as a powerful foundation, either as a standalone colour or as an underbase for other colours, ensuring the final design appears vivid and true to its intended hue. Without sufficient opacity, white elements will appear greyish, and any colours printed on top will be muted by the underlying substrate colour, compromising the entire print's quality and visual impact.
Key factors influencing white ink performance
Several variables determine the final quality of a white print. The ink's formulation is paramount; different systems offer varying levels of opacity and durability. Film thickness, controlled by screen mesh count and emulsion thickness, directly impacts how much ink is deposited. A lower mesh count (thicker threads, larger openings) allows for a heavier ink deposit, increasing opacity. Furthermore, proper curing is critical. Under-cured ink may have poor adhesion and durability, while over-curing can cause brittleness or discolouration. Finally, the substrate itself must be properly prepared—clean, free of contaminants, and sometimes pre-treated—to ensure the ink adheres correctly and performs as expected.
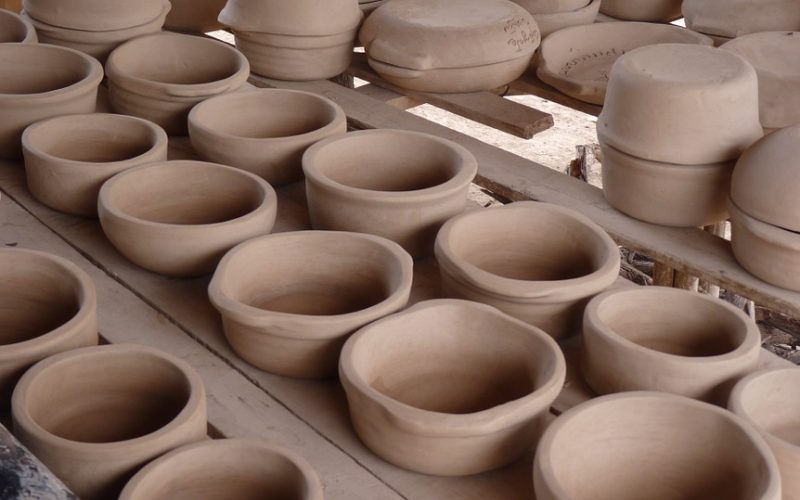
Techniques for glass and ceramic decals
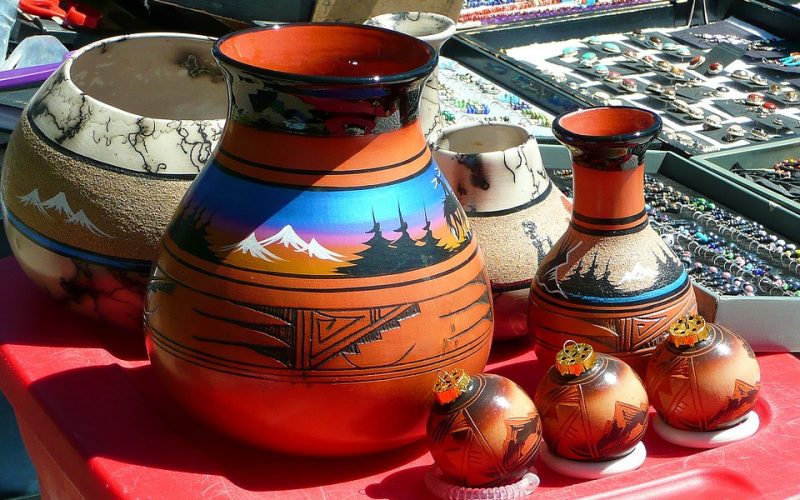
When creating glass decals and ceramic decals, the approach to achieving opacity depends on the application method. For water slide decals that are not kiln-fired, printers often use a "double-hit" of white ink—printing the white layer twice—to build sufficient opacity. This is common for decorative items that don't require extreme durability. In contrast, kiln-fired ceramic and glass decals use enamel inks containing glass frit. During firing at high temperatures, these enamels fuse with the substrate, creating a permanent, opaque layer. The opacity in this process is largely determined by the pigment load in the enamel and the thickness of the screen printed transfer.
Strategies for screen printed transfers
For screen printed transfers applied to textiles or other flexible materials, a high-opacity white is frequently used as an underbase. This involves printing a solid white layer that matches the shape of the entire design first. Subsequent colours are then printed on top of this white foundation. This technique ensures that colours remain bright and consistent, regardless of the fabric colour. Another strategy is overprinting, where a white outline or highlight is printed on top of other colours to add definition and pop. Precise registration is vital for these layering methods to avoid halos or gaps in the final transfer.
Artwork and ink system considerations
Your artwork preparation directly affects the final print. Solid vector shapes produce the most opaque results, as they allow for a consistent, heavy ink deposit. Halftones or fine details can be challenging with high-opacity whites, as the larger pigment particles can struggle to resolve fine lines. Trapping—slightly expanding the underbase layer beyond the top colours—is a common practice to prevent registration issues from creating gaps. The choice of ink system is equally important. For industrial applications on glass, durable epoxy or UV-curable inks provide excellent adhesion and opacity. For decorative ceramics, traditional ceramic enamels are necessary to withstand the firing process.
Ensuring durability and adhesion
After printing, post-processing is what locks in the quality. For ceramic decals and direct-to-glass prints using enamels, firing parameters (temperature and duration) must be precise to achieve proper fusion and durability. For other ink systems like epoxies or UV inks, following the manufacturer’s curing schedule is non-negotiable. To verify the print's robustness, adhesion testing, such as the cross-hatch tape test, is a standard quality control measure. On curved surfaces, ensuring the decal or transfer conforms without stretching or cracking is essential, which often comes down to the flexibility of the ink and the carrier film used in the decal process.